Latest Blog
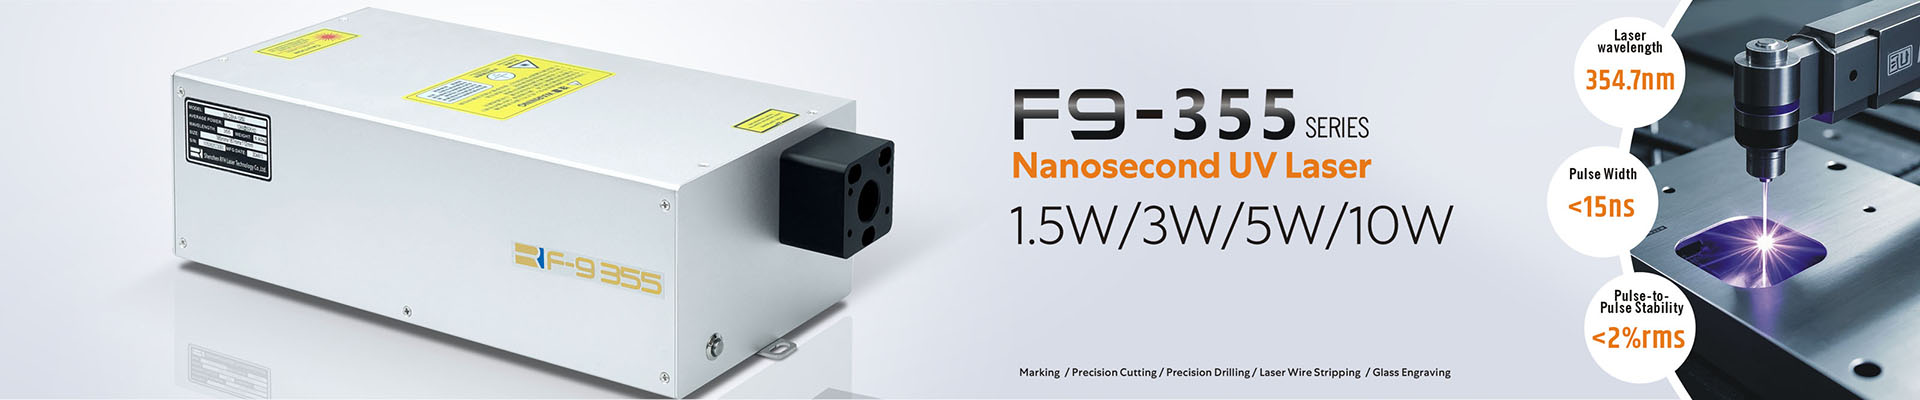
355 nm DPSS Laser engraving is the best way to customize and personalize glass
Nov 30 , 2022Laser engraving is a fast and efficient way to customize and personalize glass, but the finished result can sometimes look patchy and feel rough to the touch. Because of the high heat generated from the laser beam as it engraves the glass, tiny shards of glass are left on the surface which can feel rough and look uneven. Below are some techniques Amy with Laser has come up with to reduce chipping and roughness when laser engraving glass.
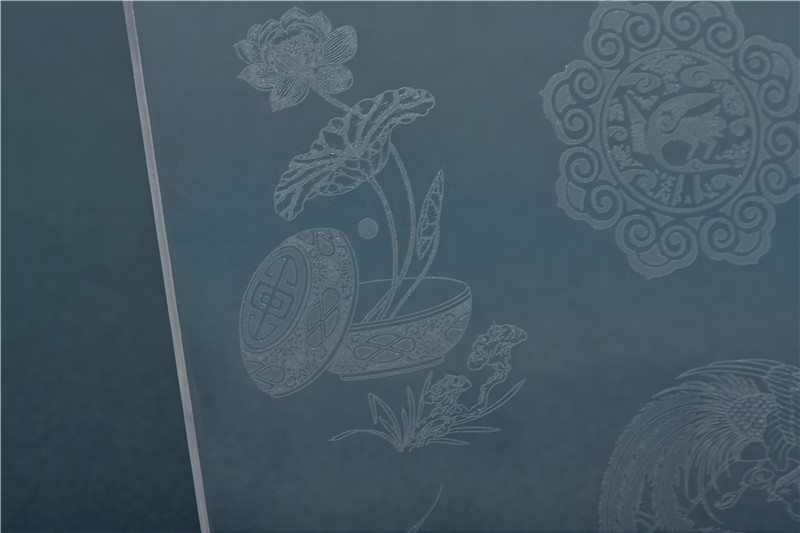
355nm DPSS laser engraving glass
Before we get into tips on how to limit chipping, it is important to understand how laser engraving works. As the laser beam strikes the glass it heats up the glass. The contact of the hot laser beam on the glass results in microscopic fractures in the surface of the glass. These fractures, or chips, are what is perceived as the glass is engraved.
However, the glass isn’t actually engraved. If you look really close you will see microscopic fractures and tiny shards of glass laying on the surface. No material was actually removed (the way it is with sandcarving). This is considered more of a surface mark than an actual engraving.
When a laser strikes glass, it fractures the surface, but it will not engrave deeply or remove material. The fracturing of the glass surface produces a frosted appearance but can cause roughness and chipping depending on the type of glass being engraved. While the frosted appearance is desired, the roughness and chipping are not. To produce a smooth, frosted finish, here are some tips:
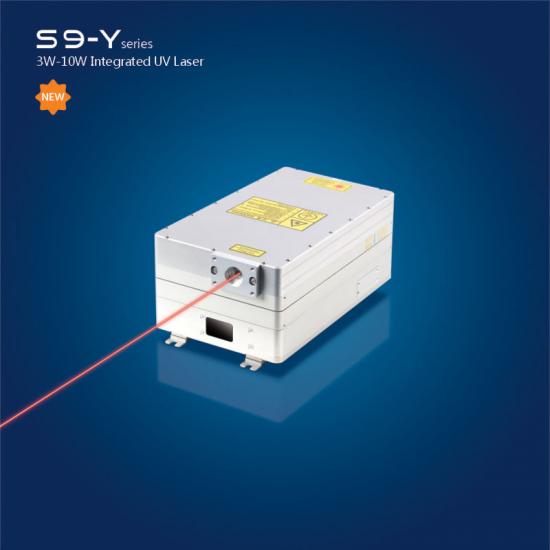
What is 355NM DPSS LASER: https://www.rfhtech.com/s9-y-integrated-uv-laser_c4